FAQ
Common issues with the Raspberry Pi 4B
1. Access point is not visible
If your Raspberry Pi is in AP mode, a Turtlebot4 WiFi network should become visible about 30 seconds after the robot has been powered on. If it does not, try the following.
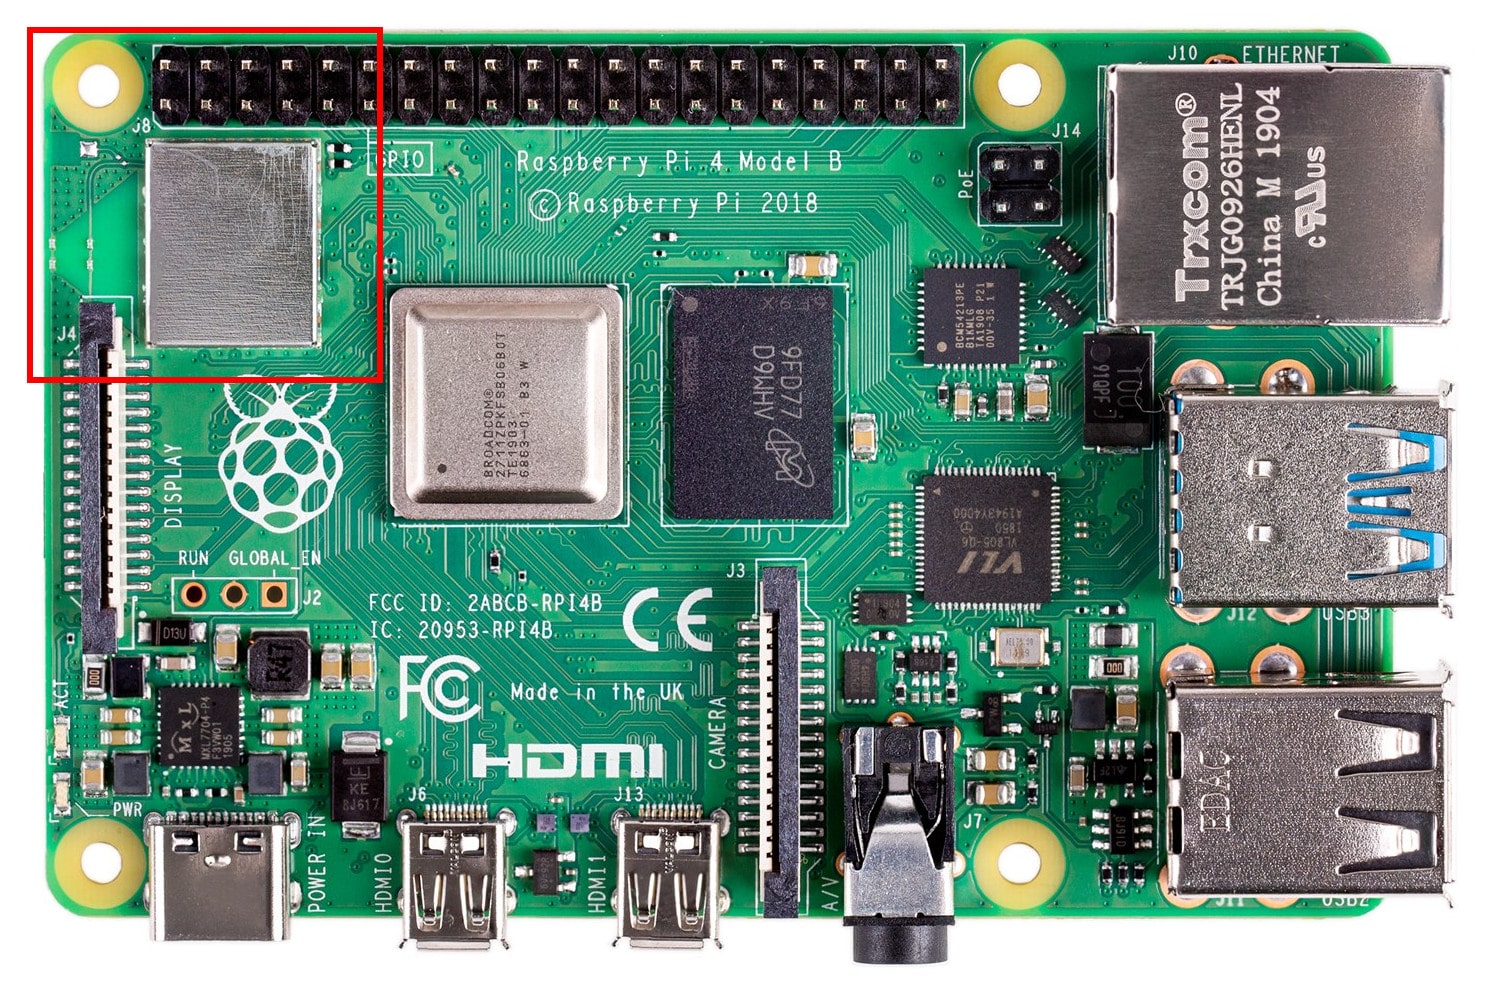
Check that the Raspberry Pi is powered
The Raspberry Pi has a Power LED near the USB-C port. Make sure it is illuminated.
If the LED is not on, then the Raspberry Pi is not powered. Check the USB-C connection and make sure the Create® 3 power adapter board is inserted fully.
Check for obstructions
If the Pi is on but you cannot see the access point, make sure that any wires in the robot are not obstructing the WiFi module of the Raspberry Pi. This includes the ribbon cable connecting the Raspberry Pi to the UI PCBA on the TurtleBot 4, and the wires powering the fans on both models.
Restart the robot
If the WiFi module is unobstructed, try restarting the robot. Take the robot off of its dock and press and hold the Power button on the Create® 3 until it is off. Wait a few seconds and place the robot back on its dock.
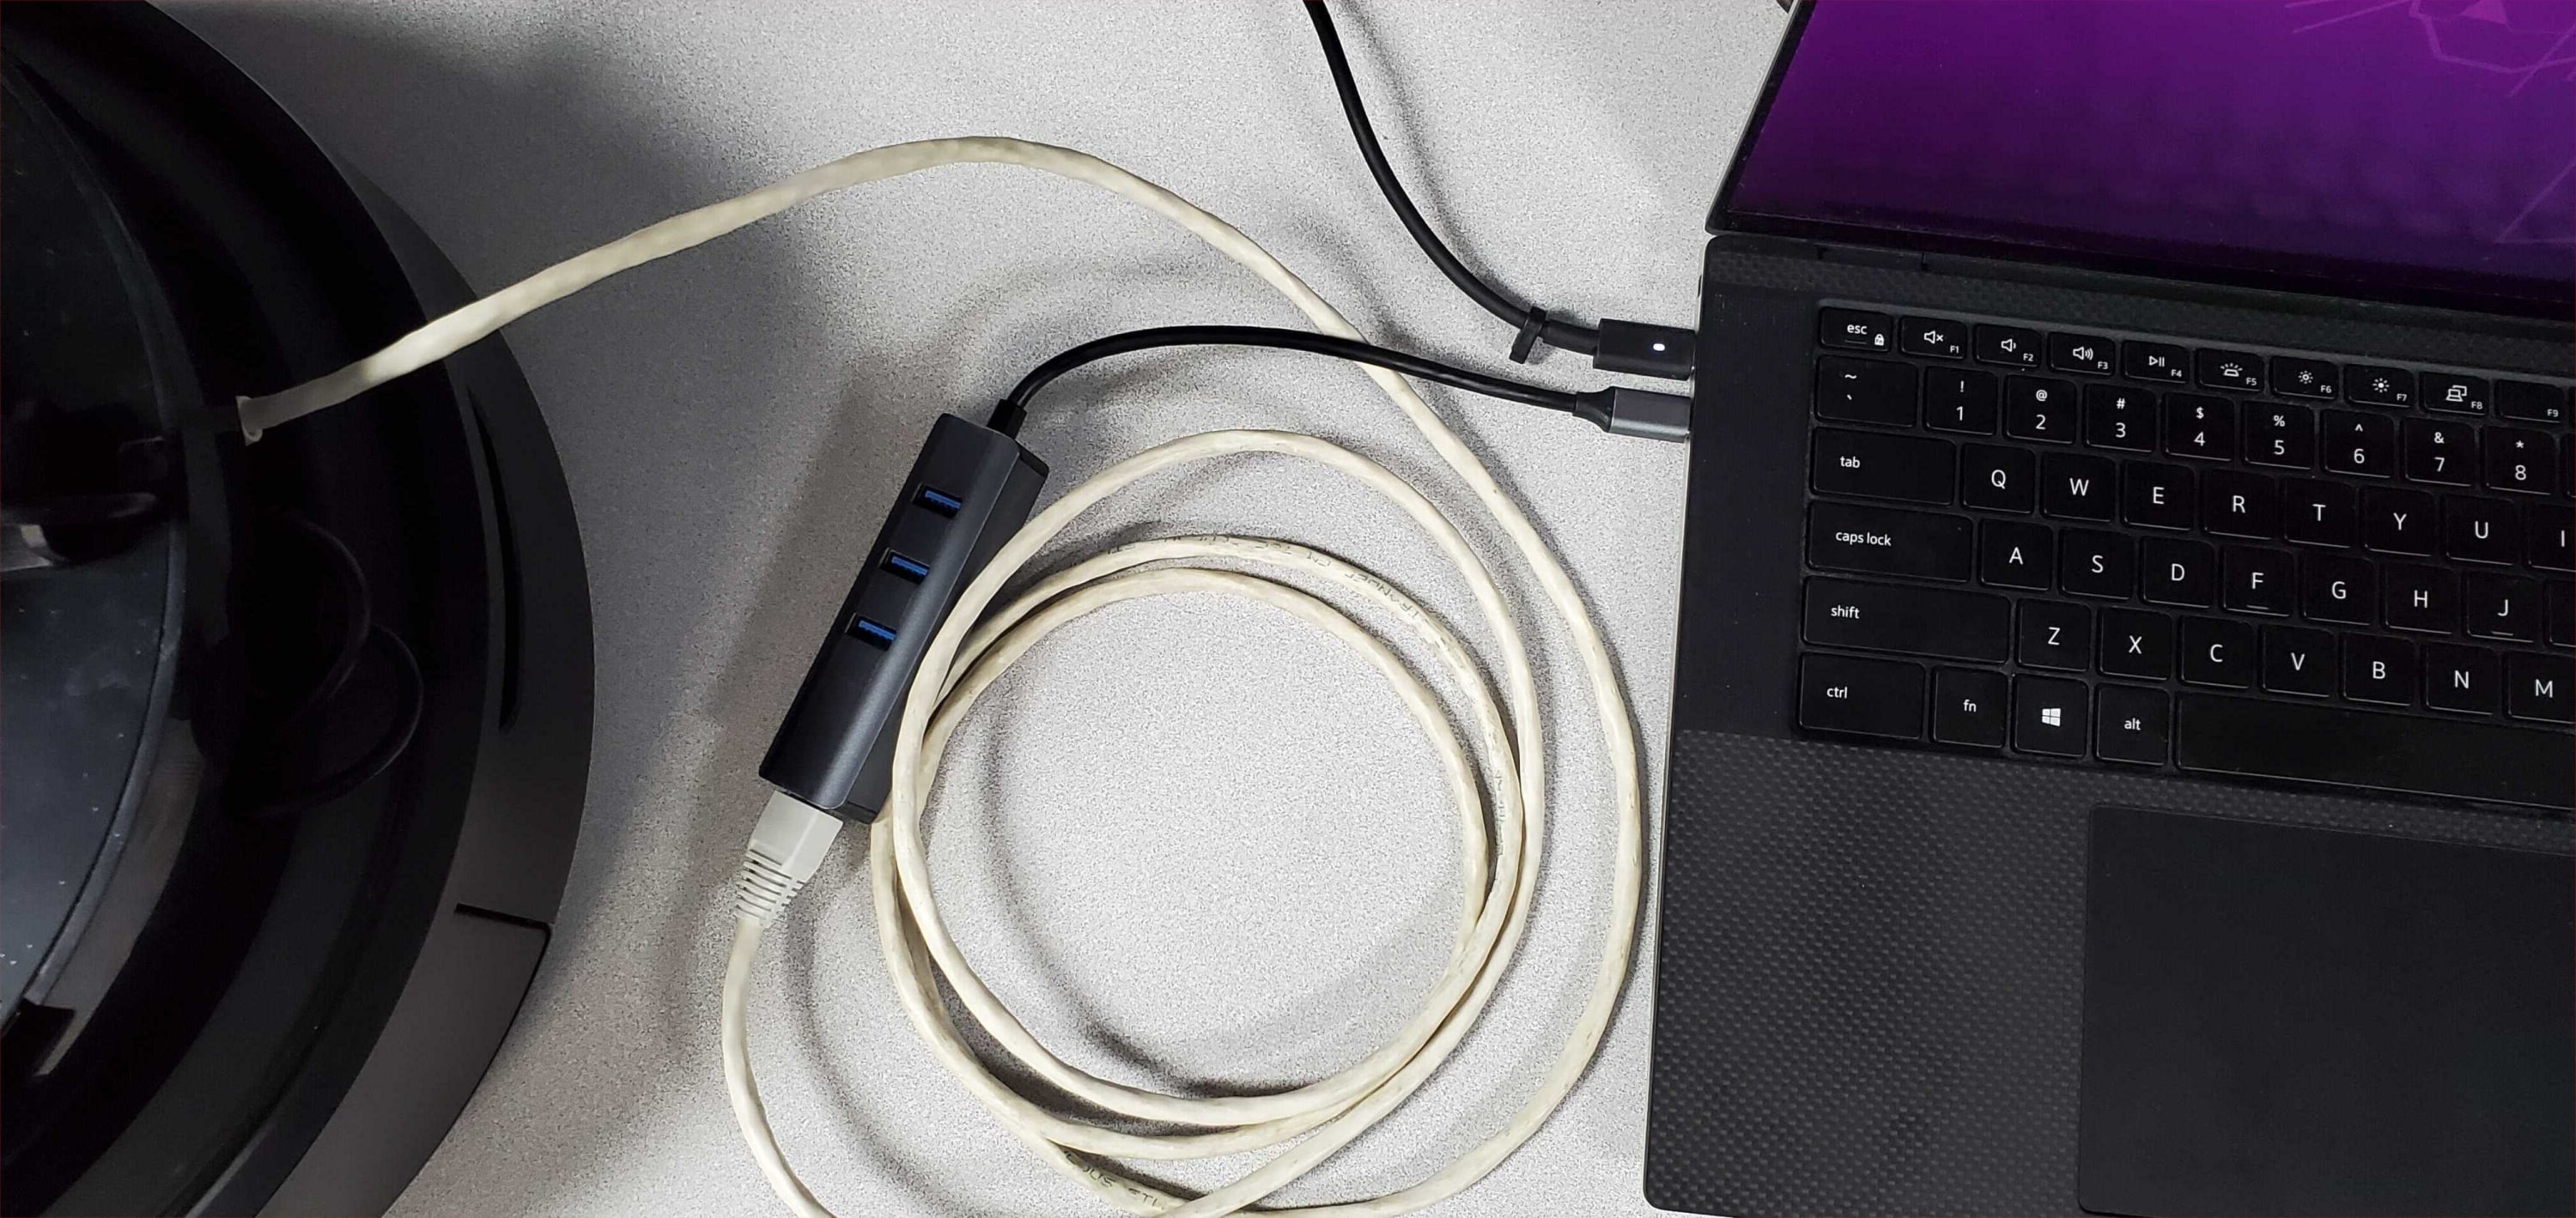
Access the Raspberry Pi over Ethernet
If you are still unable to see the Turtlebot4 access point, you can connect directly to the Raspberry Pi using an ethernet cable. You may need a USB to Ethernet adapter for your PC.
The Raspberry Pi uses a static IP address for the ethernet interface, 192.168.185.3. You will need to configure your wired connection to use the same subnet:
- Go to your wired connection settings.
- Set your IPv4 Method to
Manualand set your static IP. The IP address cannot be the same as the Raspberry Pi.
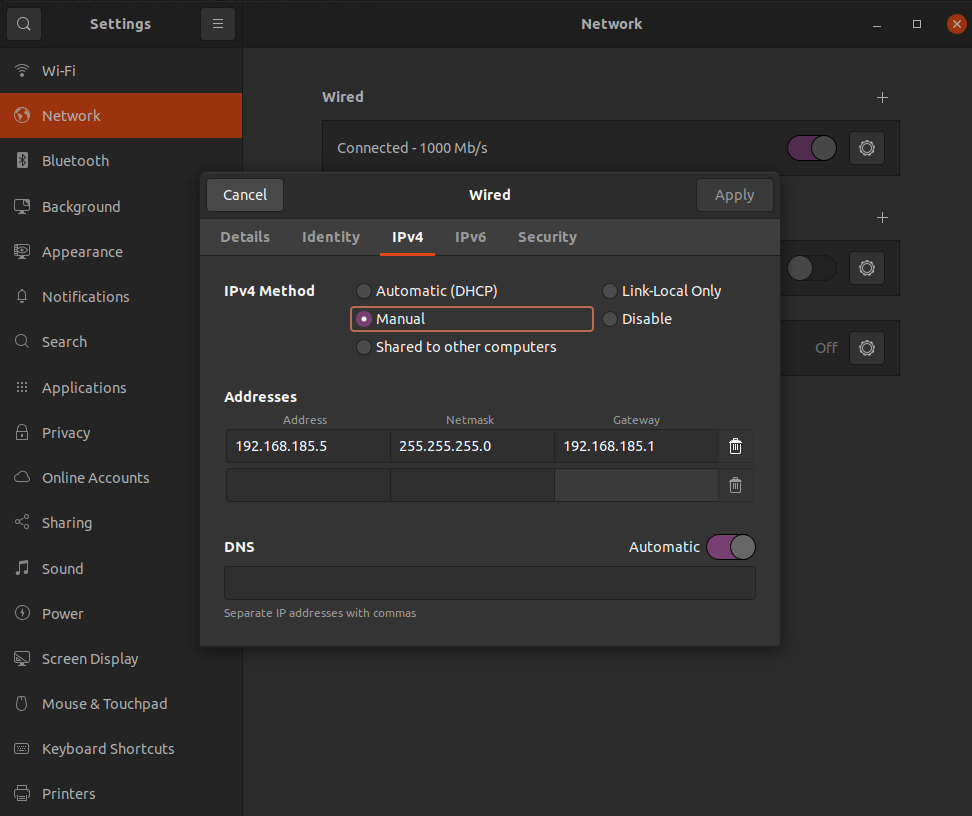
- Click ‘Apply'
You can now go to your terminal and SSH into the robot by typing:
ssh ubuntu@192.168.185.3
If you are still unable to SSH into the robot and receive the error No route to host then this may be the result of the sd card being flashed improperly. This can happen if the image wasn't extracted before flashing or if the image was flashed to a partition on the sd card. Instructions on how to flash the SD card can be found here.
If you are able to SSH into the robot then you can continue the setup instructions to connect the Raspberry Pi to your network.
2. Waiting to connect to bluetoothd…
This issue is usually a result of the bluetooth service being stopped.
To start the service again, run sudo systemctl start bluetooth.
3. No default controller available
This error occurs if you are attempting to connect a bluetooth device to the Raspberry Pi with sudo bluetoothctl and the hciuart service throws errors.
To fix this, call sudo systemctl disable hciuart and then reboot the Pi with sudo reboot.
Once the Pi has restarted, call sudo systemctl restart hciuart. Now you can run sudo bluetoothctl again and the bluetooth controller should be found.
4. OAK-D topics not present
There is an automatic power-saving mode that shuts down the OAK-D topics when the robot is docked. Undock your robot.
Common issues with the user PC
1. ros2: command not found
- Warning
ROS 2 Galactic is no longer supported. Please consider upgrading to a newer release
Make sure you have sourced ROS 2 Galactic:
source /opt/ros/galactic/setup.bash -
Make sure you have sourced ROS 2 Humble:
source /opt/ros/humble/setup.bash -
Make sure you have sourced ROS 2 Jazzy:
source /opt/ros/jazzy/setup.bash
If you are building packages from source, you will also want to source the workspace:
source /path/to/ws/install/setup.bash
2. Create® 3 topics are not visible
- Warning
ROS 2 Galactic is no longer supported. Please consider upgrading to a newer release
First, check that the Create® 3 is connected to your WiFi network. You should be able to access the Create® 3 portal by entering the Create® 3 IP address in a browser. For information on how to connect the Create® 3 to WiFi, check the Wi-Fi Setup Guide.
If it is connected to WiFi, check if you can see Create® 3 topics on the Raspberry Pi.
If topics are visible on the Raspberry Pi, ensure that your PC has the following configuration set for CycloneDDS:
<CycloneDDS>
    <Domain>
        <General>
            <DontRoute>true</DontRoute>
        </General>
    </Domain>
</CycloneDDS>
To set this configuration automatically, add the following line to your
~/.bashrcfile.export CYCLONEDDS_URI='<CycloneDDS><Domain><General><DontRoute>true</></></></>'If you have set a
ROS_DOMAIN_IDfor the Create® 3, your terminal will have to have the same ID. You can set the ID by using this command:export ROS_DOMAIN_ID=#Replace
#with the ID.If topics are not visible on the Raspberry Pi, you may need to restart the Create® 3 application through the portal, or reboot the robot.
-
First, make sure that the Raspberry Pi's
RMW_IMPLEMENTATIONmatches the one supported by your Create® 3 firmware and that your Create® 3's firmware is versionI.*.*. Reinstall the Create® 3 firmware or change the Raspberry Pi's RMW if needed.Check that the Create® 3's topics are visible in the
_do_not_usenamespace. SSH into the Turtlebot 4 and run the following command:ros2 topic list --include-hidden-topics | grep _do_not_useyou should see the following topics:
/_do_not_use/audio_note_sequence/_action/feedback
/_do_not_use/audio_note_sequence/_action/status
/_do_not_use/battery_state
/_do_not_use/cmd_audio
/_do_not_use/cmd_lightring
/_do_not_use/cmd_vel
/_do_not_use/cmd_vel_stamped
/_do_not_use/dock/_action/feedback
/_do_not_use/dock/_action/status
/_do_not_use/dock_status
/_do_not_use/drive_arc/_action/feedback
/_do_not_use/drive_arc/_action/status
/_do_not_use/drive_distance/_action/feedback
/_do_not_use/drive_distance/_action/status
/_do_not_use/imu
/_do_not_use/interface_buttons
/_do_not_use/led_animation/_action/feedback
/_do_not_use/led_animation/_action/status
/_do_not_use/navigate_to_position/_action/feedback
/_do_not_use/navigate_to_position/_action/status
/_do_not_use/odom
/_do_not_use/rotate_angle/_action/feedback
/_do_not_use/rotate_angle/_action/status
/_do_not_use/tf
/_do_not_use/tf_static
/_do_not_use/undock/_action/feedback
/_do_not_use/undock/_action/status
/_do_not_use/wall_follow/_action/feedback
/_do_not_use/wall_follow/_action/status
/_do_not_use/wheel_status
If these topics are not visible, run the
turtlebot4-setupcommand and use the "Reset Create3" option to reconfigure the Create® 3's domain ID, namespace, and discovery server settings.Once the Create® 3 resets, check if the topics are visible again. If they are still not visible, reboot the robot by removing it from the dock and holding the power button.
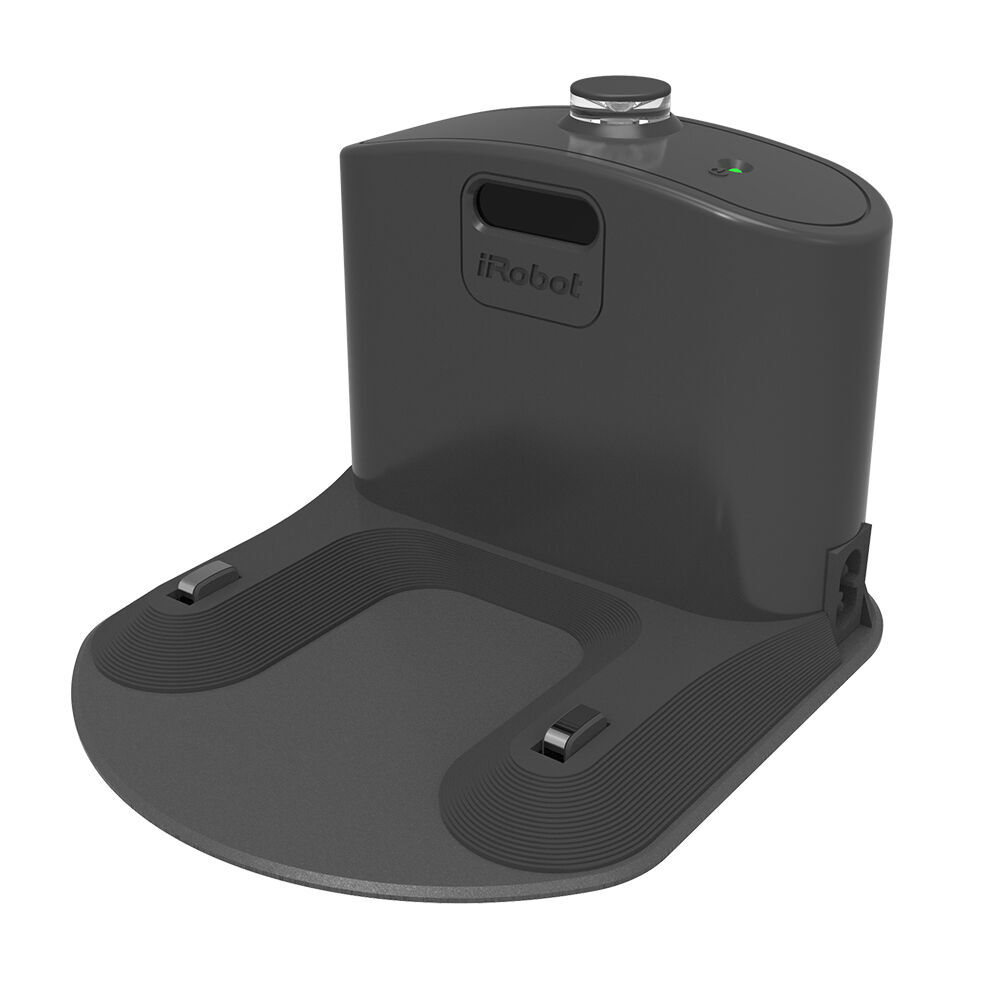
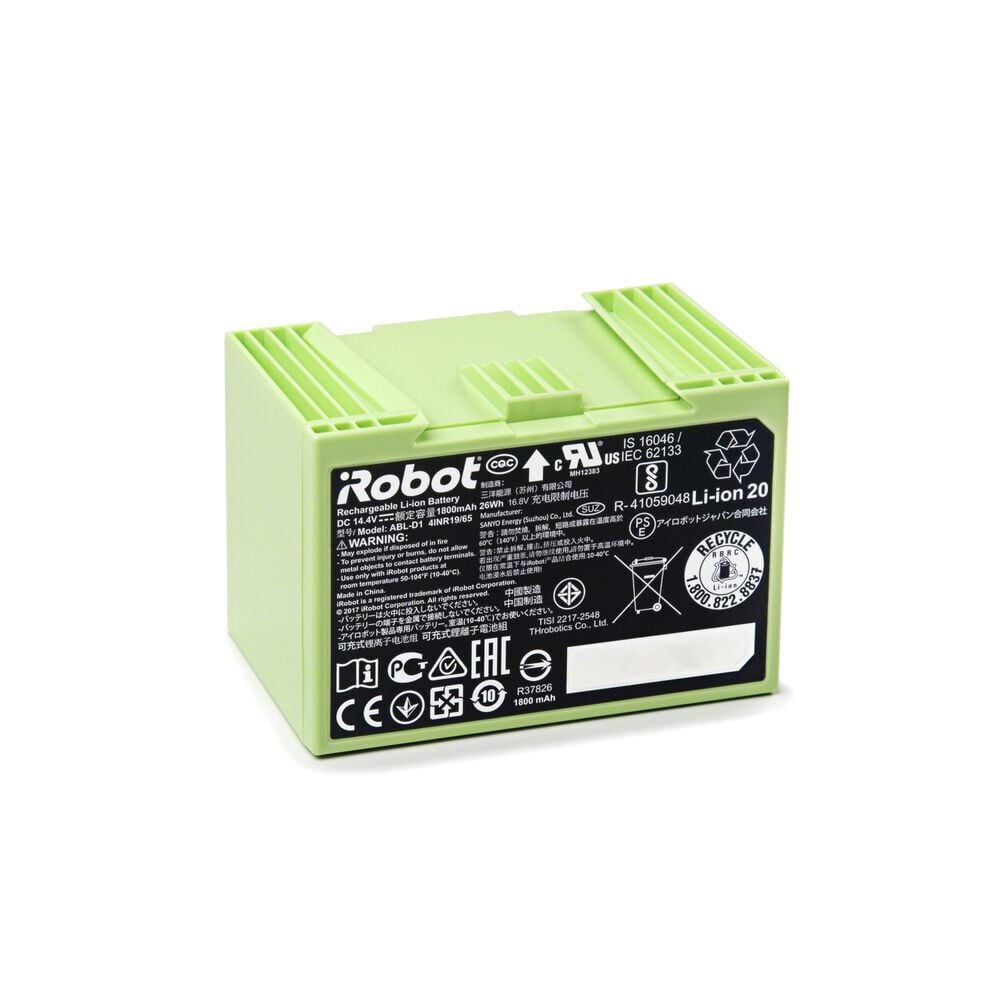
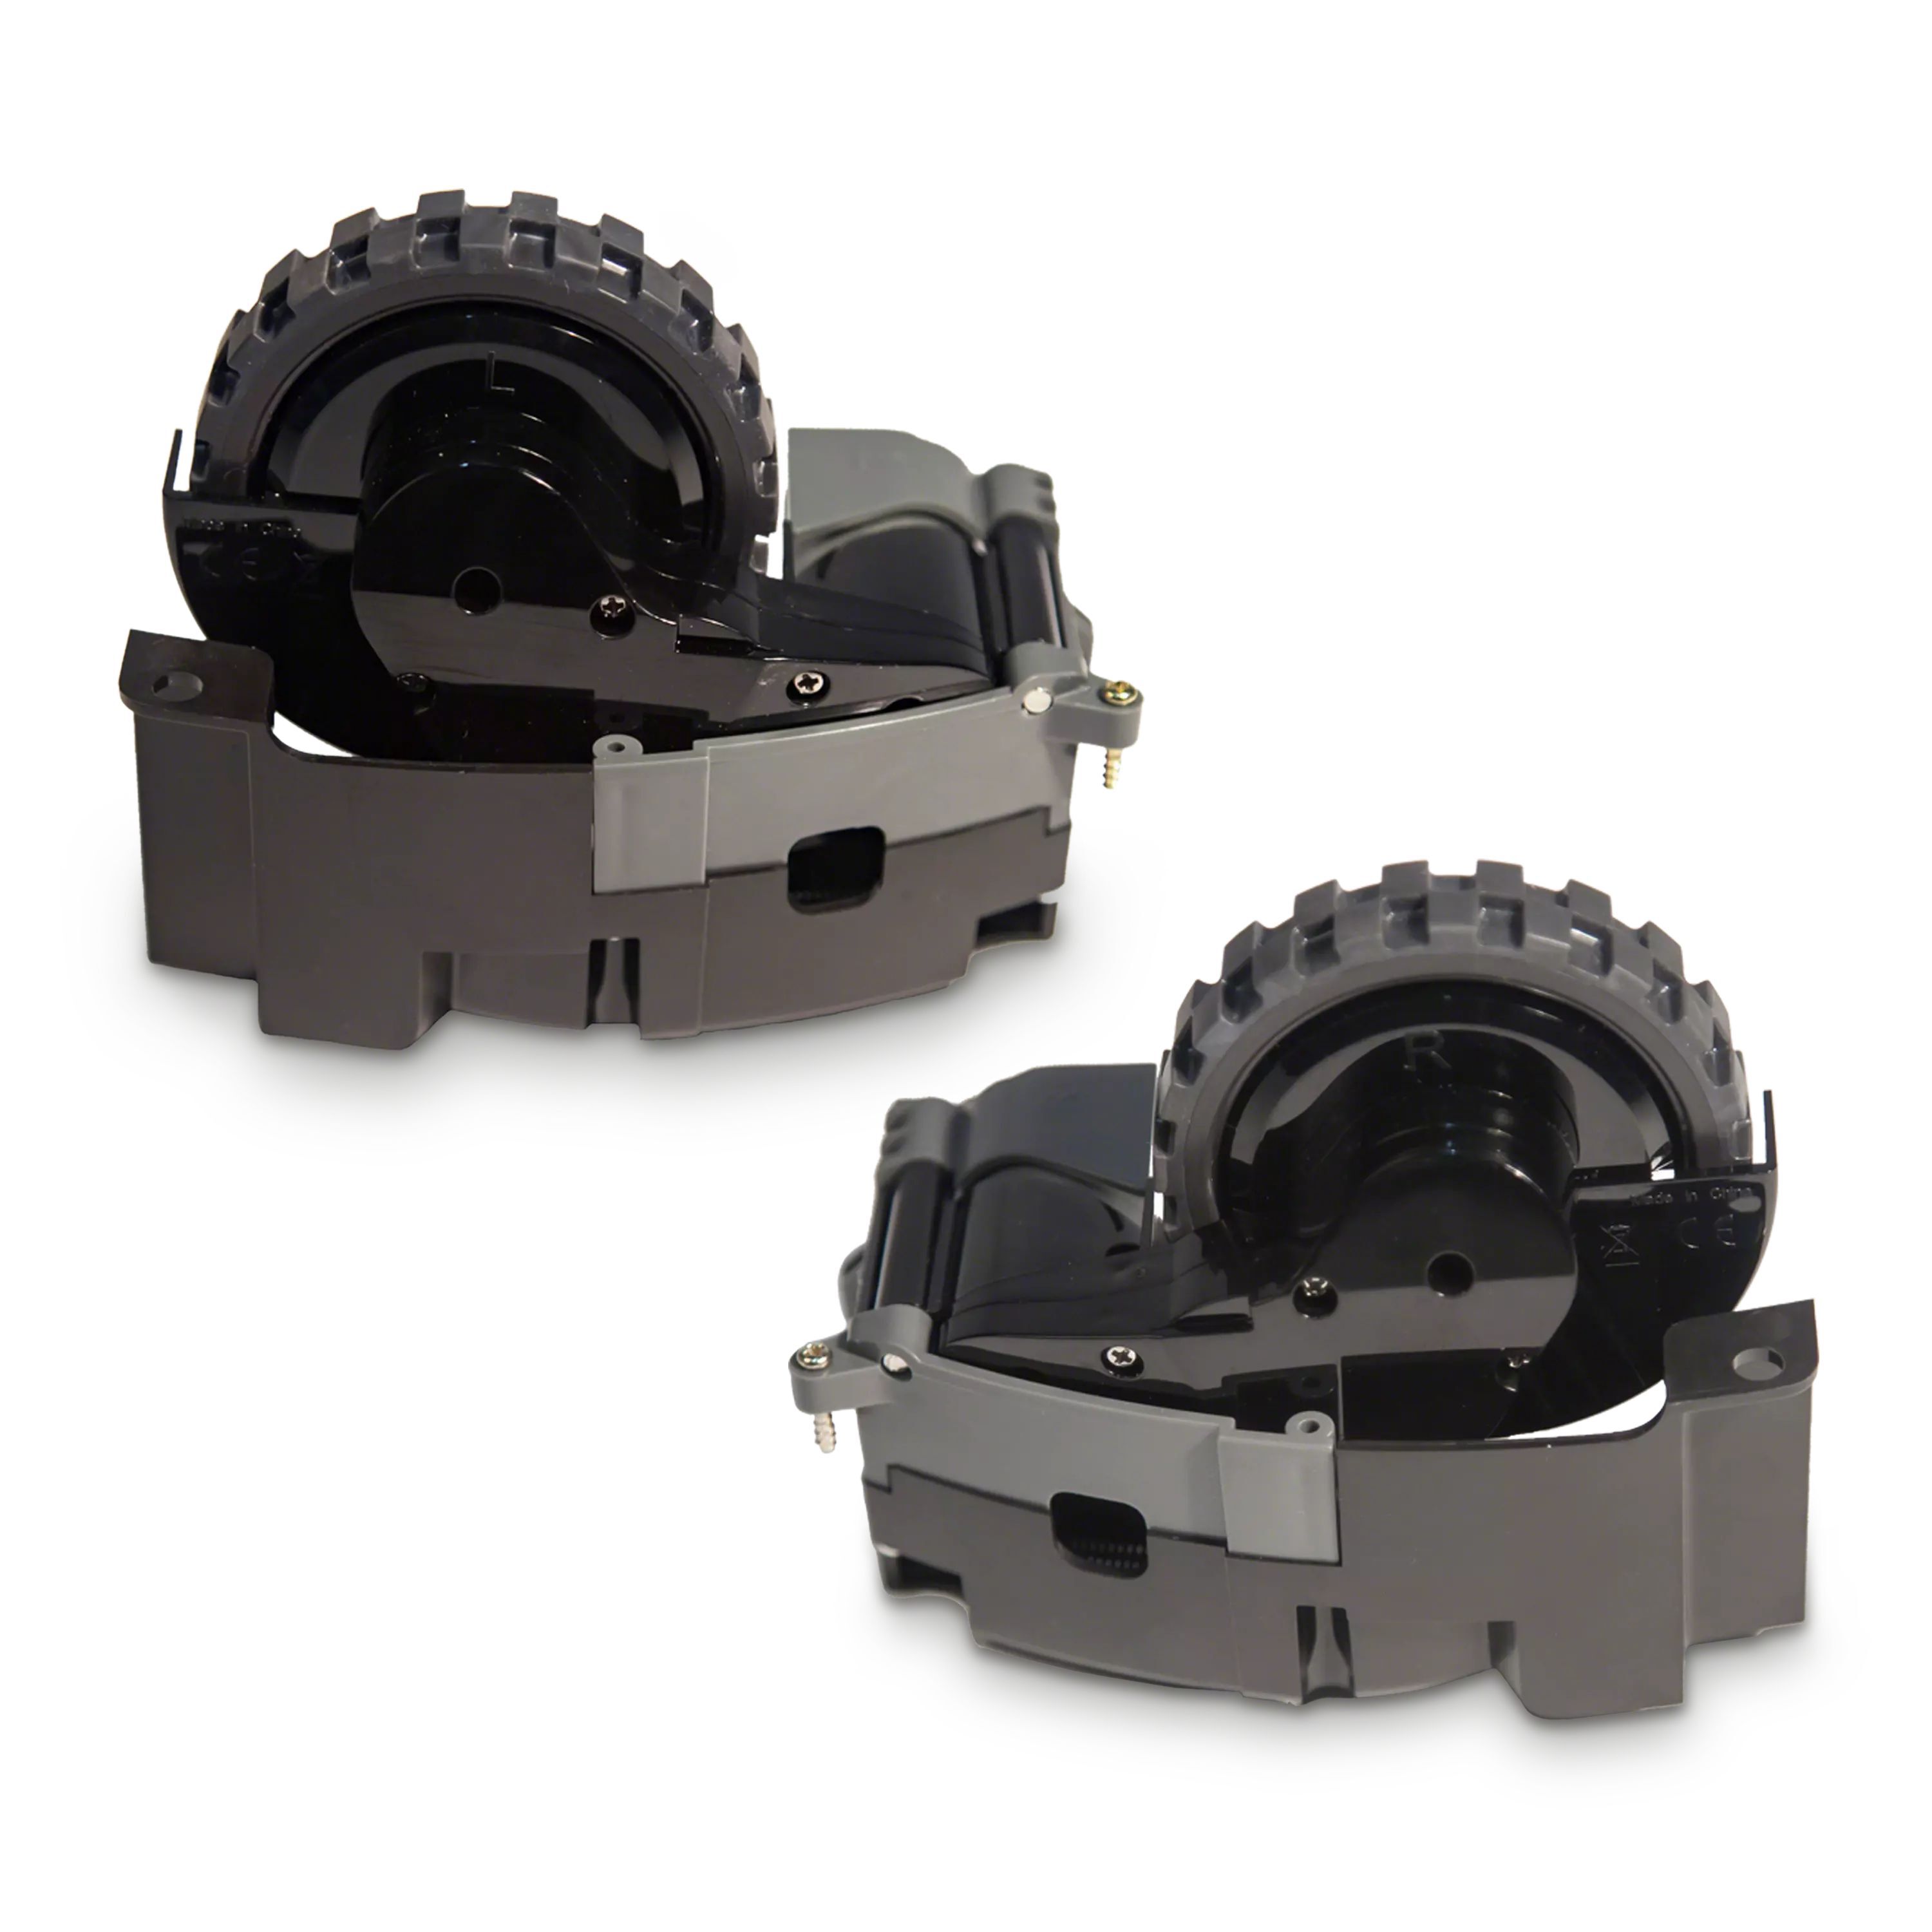
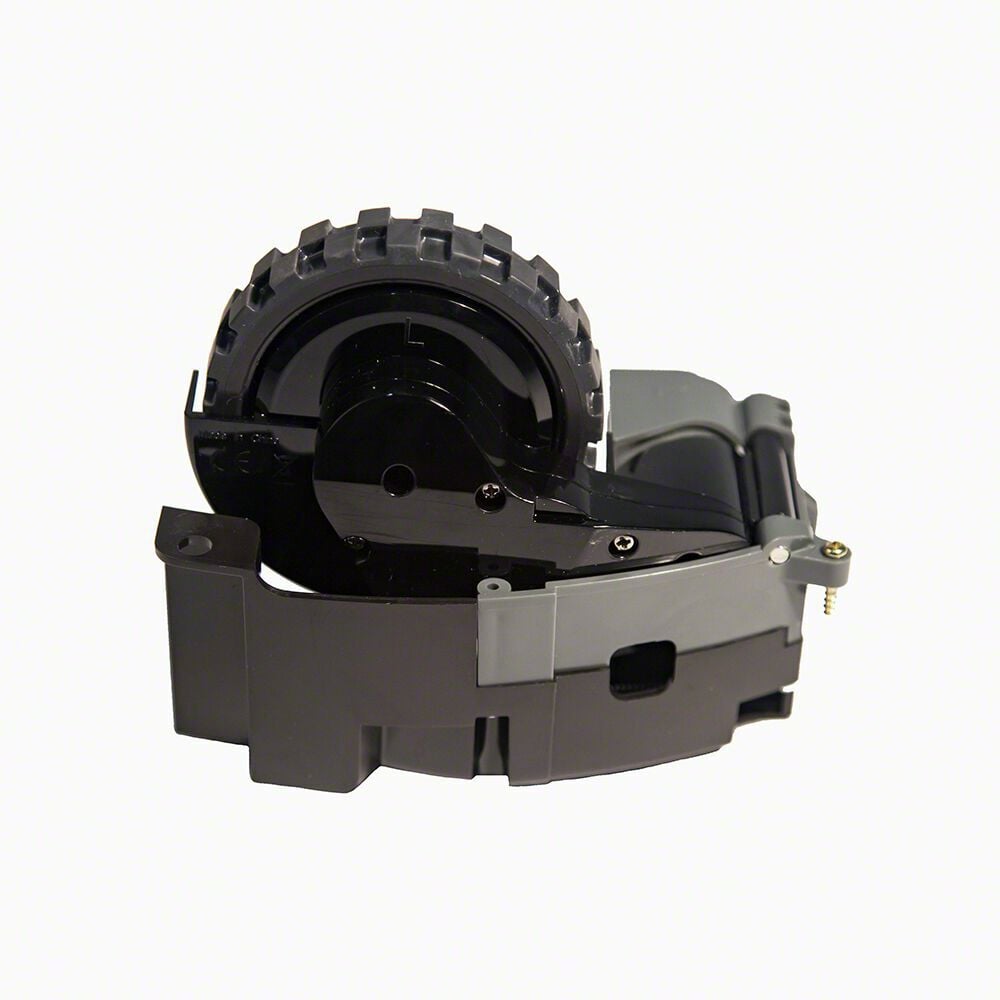
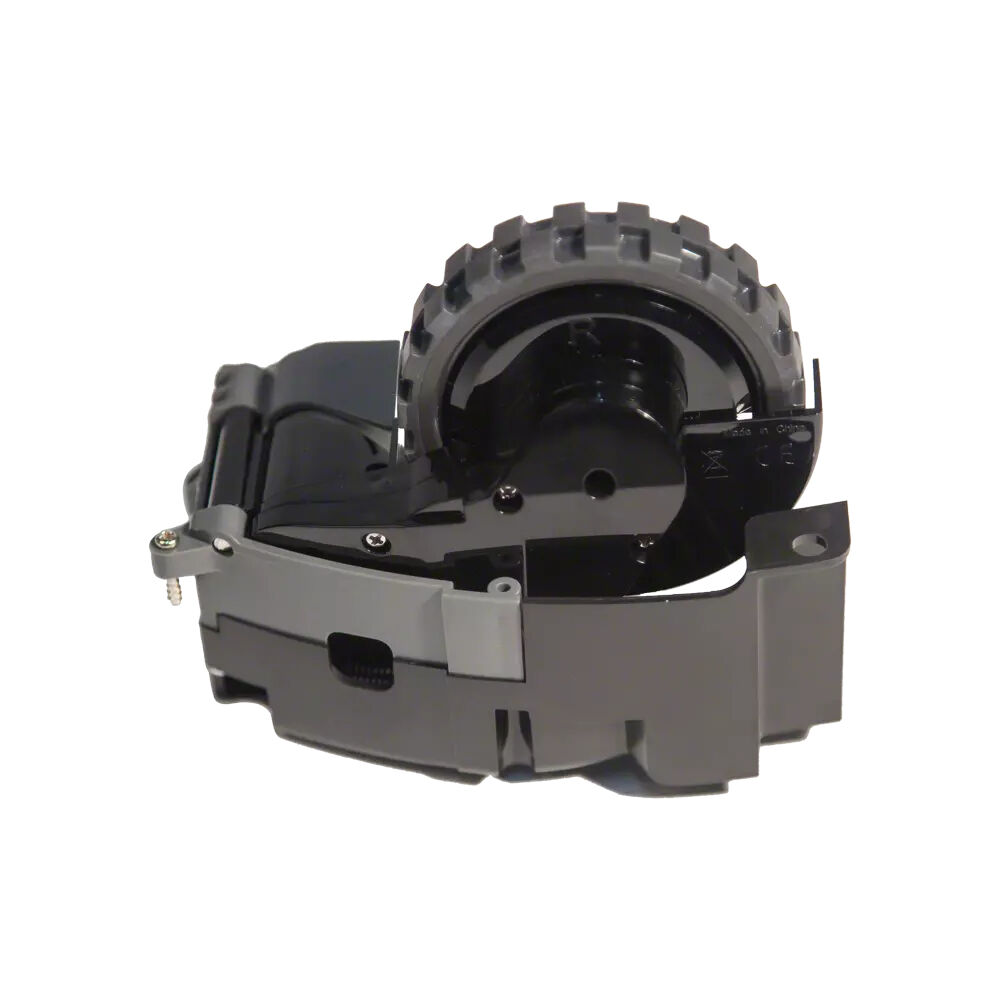
Replacement Components for the Create® 3
The Turtlebot4 is built ontop of the Create® 3 platform which has components that can be replaced as they wear. These components can be purchased directly from iRobot at the following links.