Navigation
This tutorial will cover various methods of navigating with the TurtleBot 4 and Nav2.
SLAM vs Localization
There are two localization methods we can use to figure out where the robot is on the map: SLAM or Localization. SLAM allows us to generate the map as we navigate, while localization requires that a map already exists.
SLAM
SLAM is useful for generating a new map, or navigating in unknown or dynamic environments. It updates the map as it detects and changes, but cannot see areas of the environment that it has not discovered yet.
Localization
Localization uses an existing map along with live odometry and laserscan data to figure out the position of the robot on the given map. It does not update the map if any changes have been made to the environment, but we can still avoid new obstacles when navigating. Because the map doesn't change, we can get more repeatable navigation results.
For this tutorial, we will be using localization to navigate on a map generated with SLAM.
Nav2
The TurtleBot 4 uses the Nav2 stack for navigation.
Remember to always source your ROS 2 environment before trying to launch a node.
Launching navigation
- Warning
ROS 2 Galactic is no longer supported. Please consider upgrading to a newer release
For this tutorial we can launch navigation with Nav Bringup.
On a physical TurtleBot 4, call:
ros2 launch turtlebot4_navigation nav_bringup.launch.py slam:=off localization:=true map:=office.yamlReplace
office.yamlwith your own map.If you are using the simulator, call:
ros2 launch turtlebot4_ignition_bringup ignition.launch.py nav2:=true slam:=off localization:=trueOnce the Gazebo window loads, ensure to press the "Play" button to start the simulation.
This will launch the simulation in the default
depotworld and will use the existingdepot.yamlfile for the map. If you are using a custom world you will need to build the turtlebot4_simulator package from source and place your world file alongside the others. You will then need to create a map for it and pass both the world name and the map file path in as launch arguments.For example:
ros2 launch turtlebot4_ignition_bringup ignition.launch.py nav2:=true slam:=off localization:=true world:=classroom map:=path/to/classroom.yaml -
For this tutorial we can launch navigation with the turtlebot4_navigation package.
For a physical TurtleBot 4:
If you do not have a map of the environment, generate a map first.
Open a terminal and launch localization:
ros2 launch turtlebot4_navigation localization.launch.py map:=office.yamlReplace
office.yamlwith the path to your own map.Then, in another terminal, launch nav2:
ros2 launch turtlebot4_navigation nav2.launch.pyNoteIf using multiple robots through the namespacing method, an additional
namespaceparameter must be passed to both the Localization and Nav2 launch files. For example:namespace:=/robot1See Multiple robots for more details.If you are using the simulator, call:
ros2 launch turtlebot4_ignition_bringup turtlebot4_ignition.launch.py nav2:=true slam:=false localization:=true rviz:=trueOnce the Gazebo window loads, ensure to press the "Play" button to start the simulation.
This will launch the simulation in the default
warehouseworld and will use the existingwarehouse.yamlfile for the map.To launch a different supported world, see the simulation package for a list of supported worlds. You must pass the name of the chosen world and the path to the map file.
For example:
ros2 launch turtlebot4_ignition_bringup turtlebot4_ignition.launch.py nav2:=true slam:=false localization:=true \
rviz:=true world:=depot map:=/opt/ros/humble/share/turtlebot4_navigation/maps/depot.yaml
If you are using a custom world you will need to build the turtlebot4_simulator package from source and place your world file alongside the others. You will then need to create a map for it and pass both the world name and the map file path in as launch arguments.
For example:
ros2 launch turtlebot4_ignition_bringup turtlebot4_ignition.launch.py nav2:=true slam:=false localization:=true \ rviz:=true world:=classroom map:=path/to/classroom.yaml -
For this tutorial we can launch navigation with the turtlebot4_navigation package.
For a physical TurtleBot 4:
If you do not have a map of the environment, generate a map first.
Open a terminal and launch localization:
ros2 launch turtlebot4_navigation localization.launch.py map:=office.yamlReplace
office.yamlwith the path to your own map.Then, in another terminal, launch nav2:
ros2 launch turtlebot4_navigation nav2.launch.pyNoteIf using multiple robots through the namespacing method, an additional
namespaceparameter must be passed to both the Localization and Nav2 launch files. For example:namespace:=/robot1See Multiple robots for more details.If you are using the simulator, call:
ros2 launch turtlebot4_gz_bringup turtlebot4_gz.launch.py nav2:=true slam:=false localization:=true rviz:=trueOnce the Gazebo window loads, ensure to press the "Play" button to start the simulation.
This will launch the simulation in the default
warehouseworld and will use the existingwarehouse.yamlfile for the map.To launch a different supported world, see the simulation package for a list of supported worlds. You must pass the name of the chosen world and the path to the map file.
For example:
ros2 launch turtlebot4_gz_bringup turtlebot4_gz.launch.py nav2:=true slam:=false localization:=true \
rviz:=true world:=depot map:=/opt/ros/jazzy/share/turtlebot4_navigation/maps/depot.yaml
If you are using a custom world you will need to build the turtlebot4_simulator package from source and place your world file alongside the others. You will then need to create a map for it and pass both the world name and the map file path in as launch arguments.
For example:
ros2 launch turtlebot4_gz_bringup turtlebot4_gz.launch.py nav2:=true slam:=false localization:=true \
rviz:=true world:=classroom map:=path/to/classroom.yaml
An initial pose is required before navigation can begin.
Interacting with Nav2
If you are using the physical robot: In a new terminal launch Rviz so that you can view the map and interact with navigation:
- Warning
ROS 2 Galactic is no longer supported. Please consider upgrading to a newer release
ros2 launch turtlebot4_viz view_robot.launch.py -
ros2 launch turtlebot4_viz view_robot.launch.py -
ros2 launch turtlebot4_viz view_navigation.launch.py
If using multiple robots through the namespacing method, an additional namespace parameter must be passed. For example: namespace:=/robot1 See Multiple robots for more details.
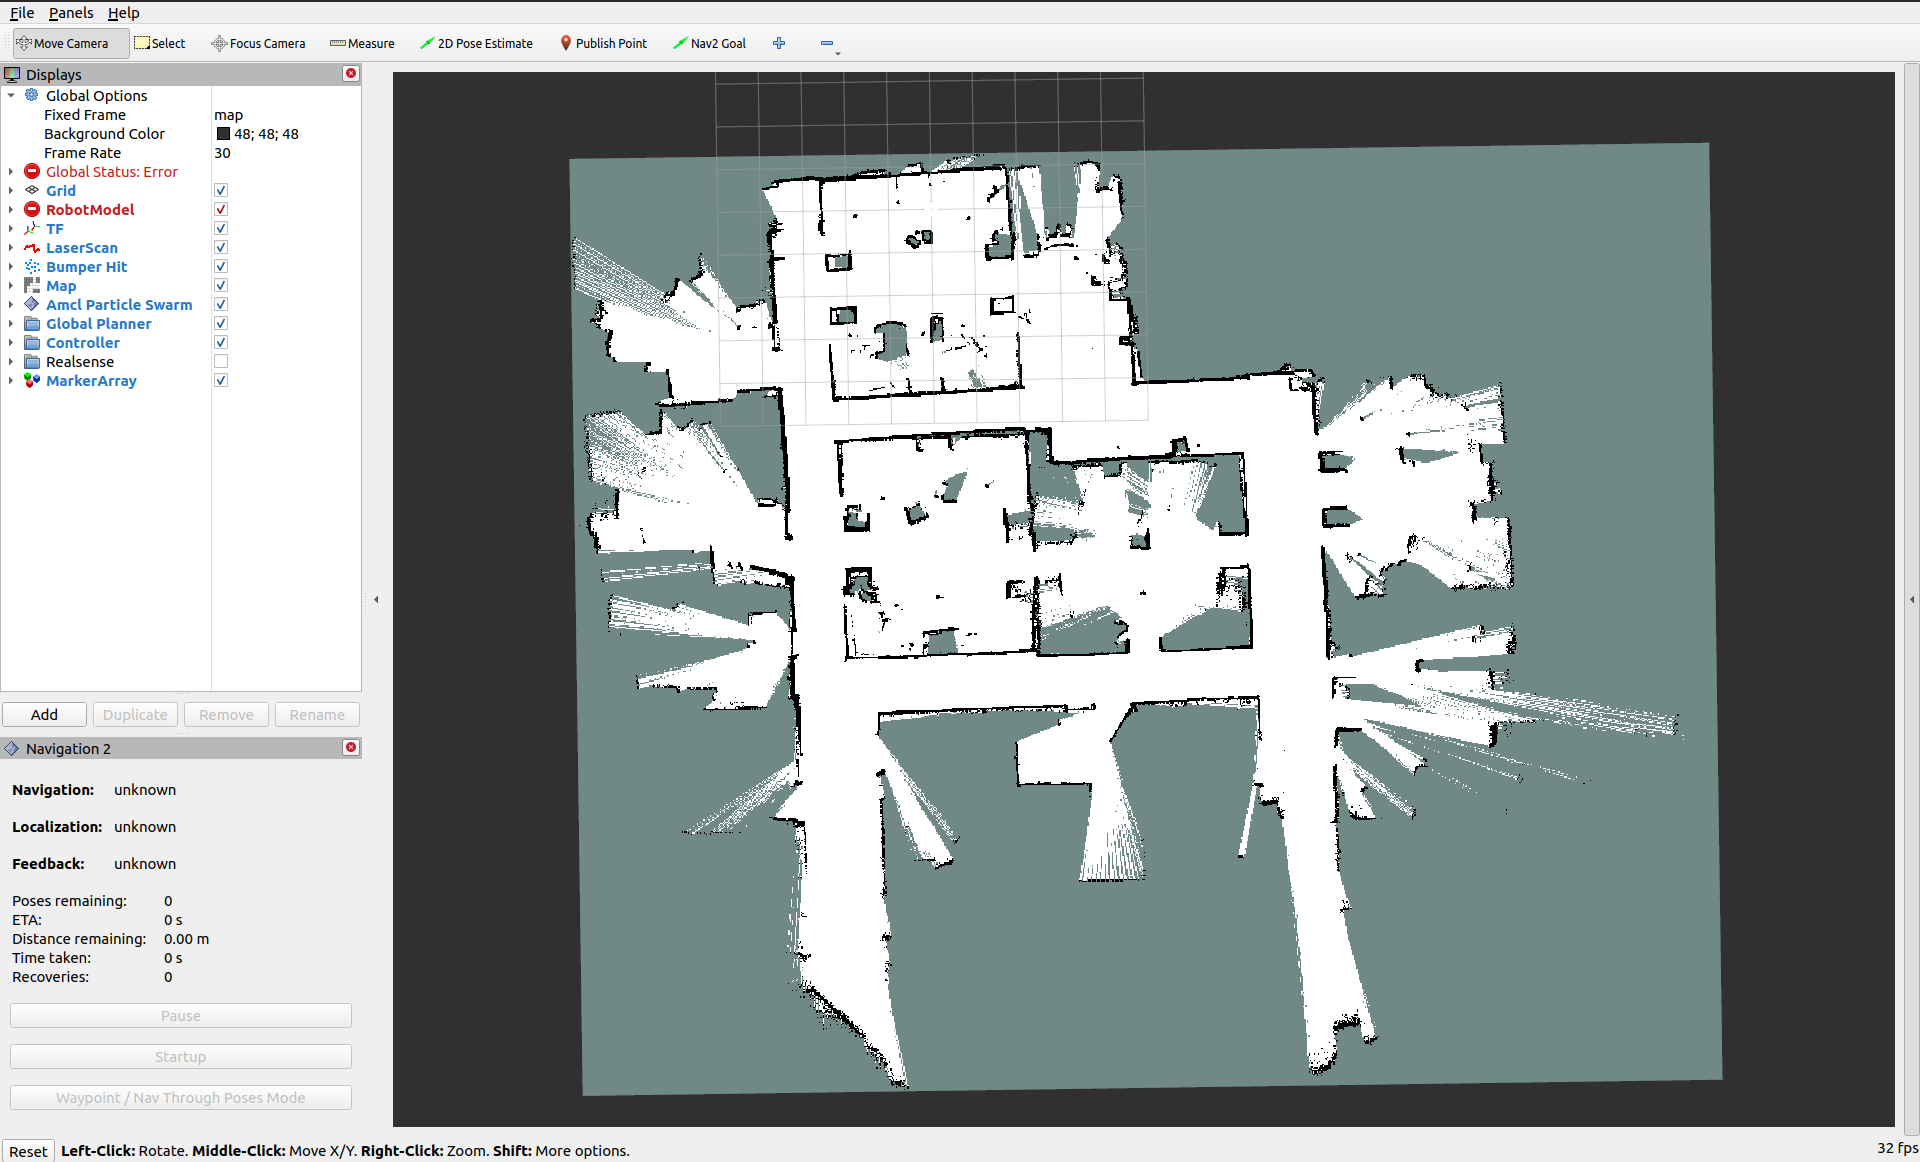
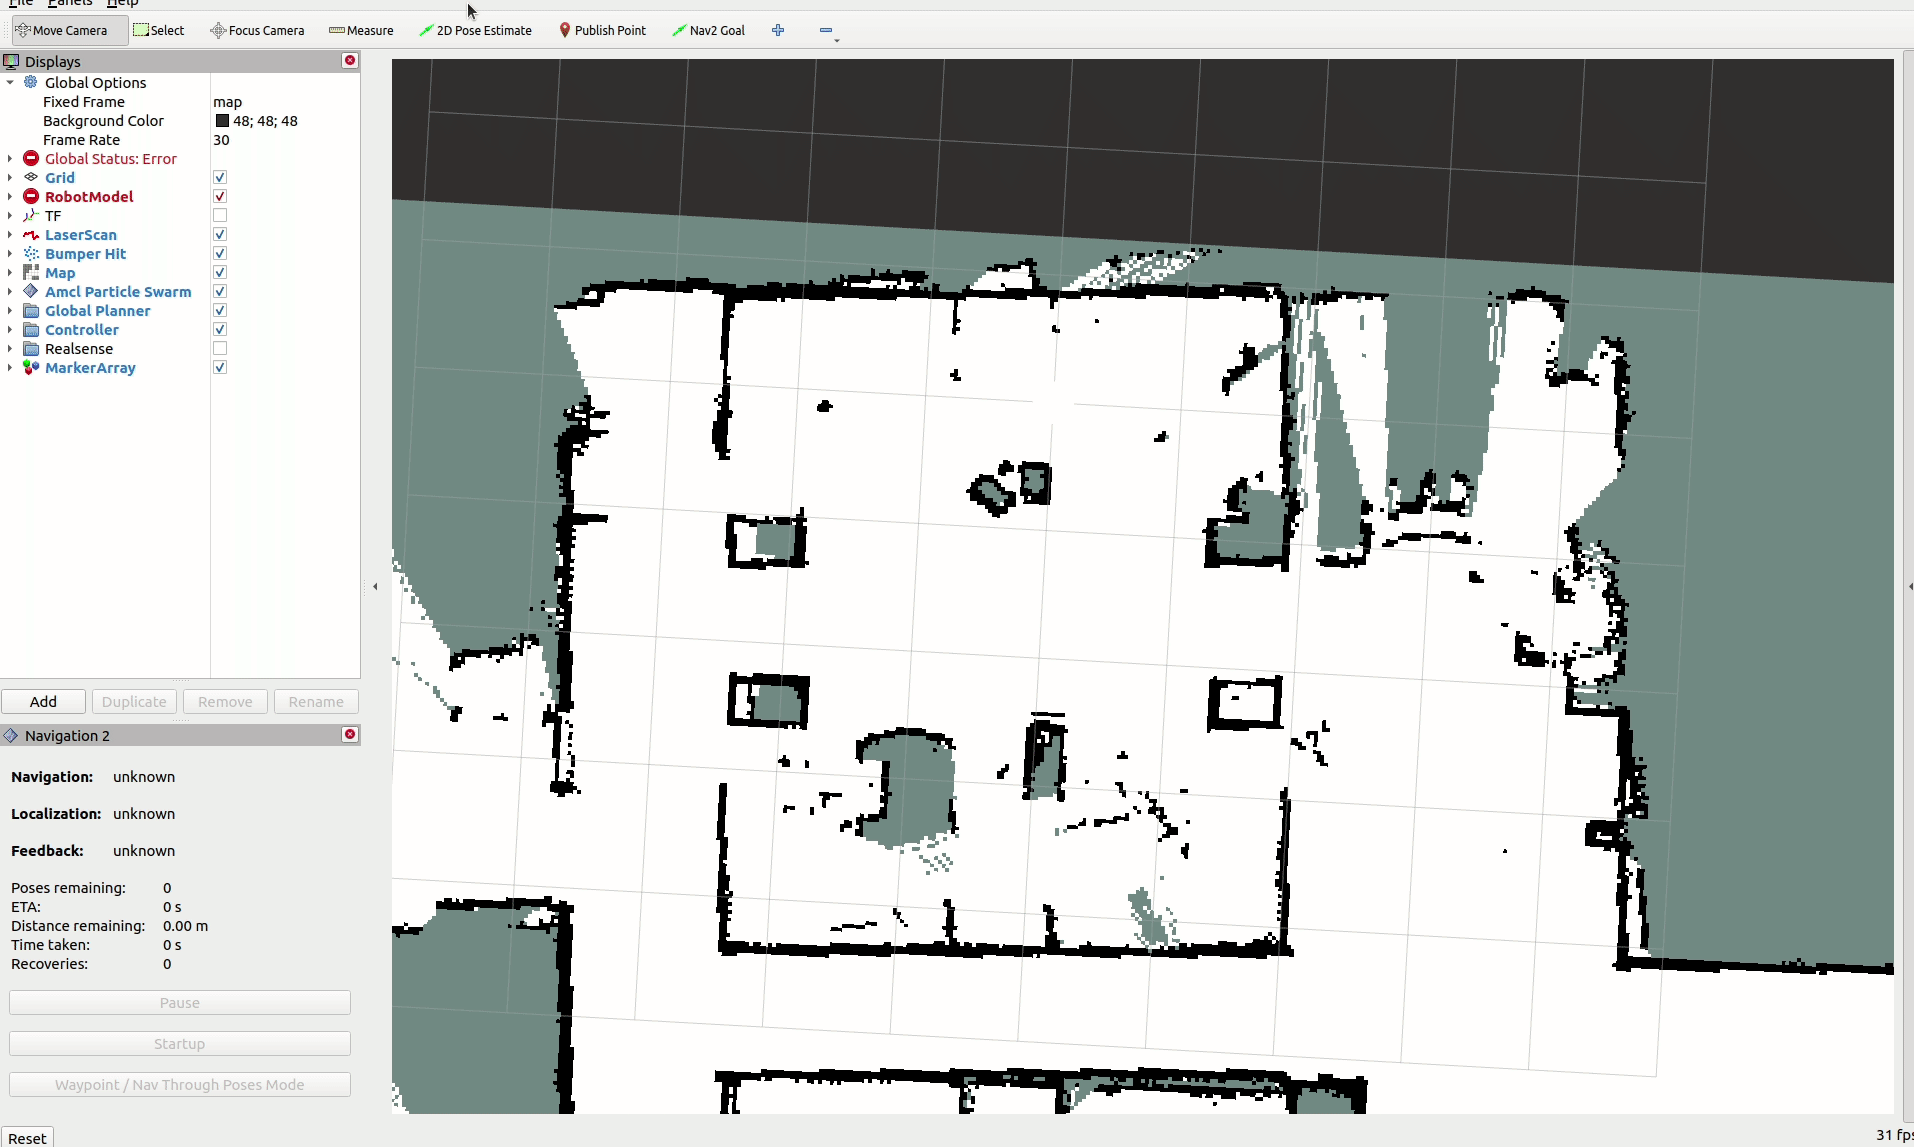
At the top of the Rviz window is the toolbar. You will notice that there are three navigation tools available to you.

Setting the Initial Pose
The 2D Pose Estimate tool is used in localization to set the approximate initial pose of the robot on the map. This is required for the Nav2 stack to know where to start localizing from. Click on the tool, and then click and drag the arrow on the map to approximate the position and orientation of the robot.
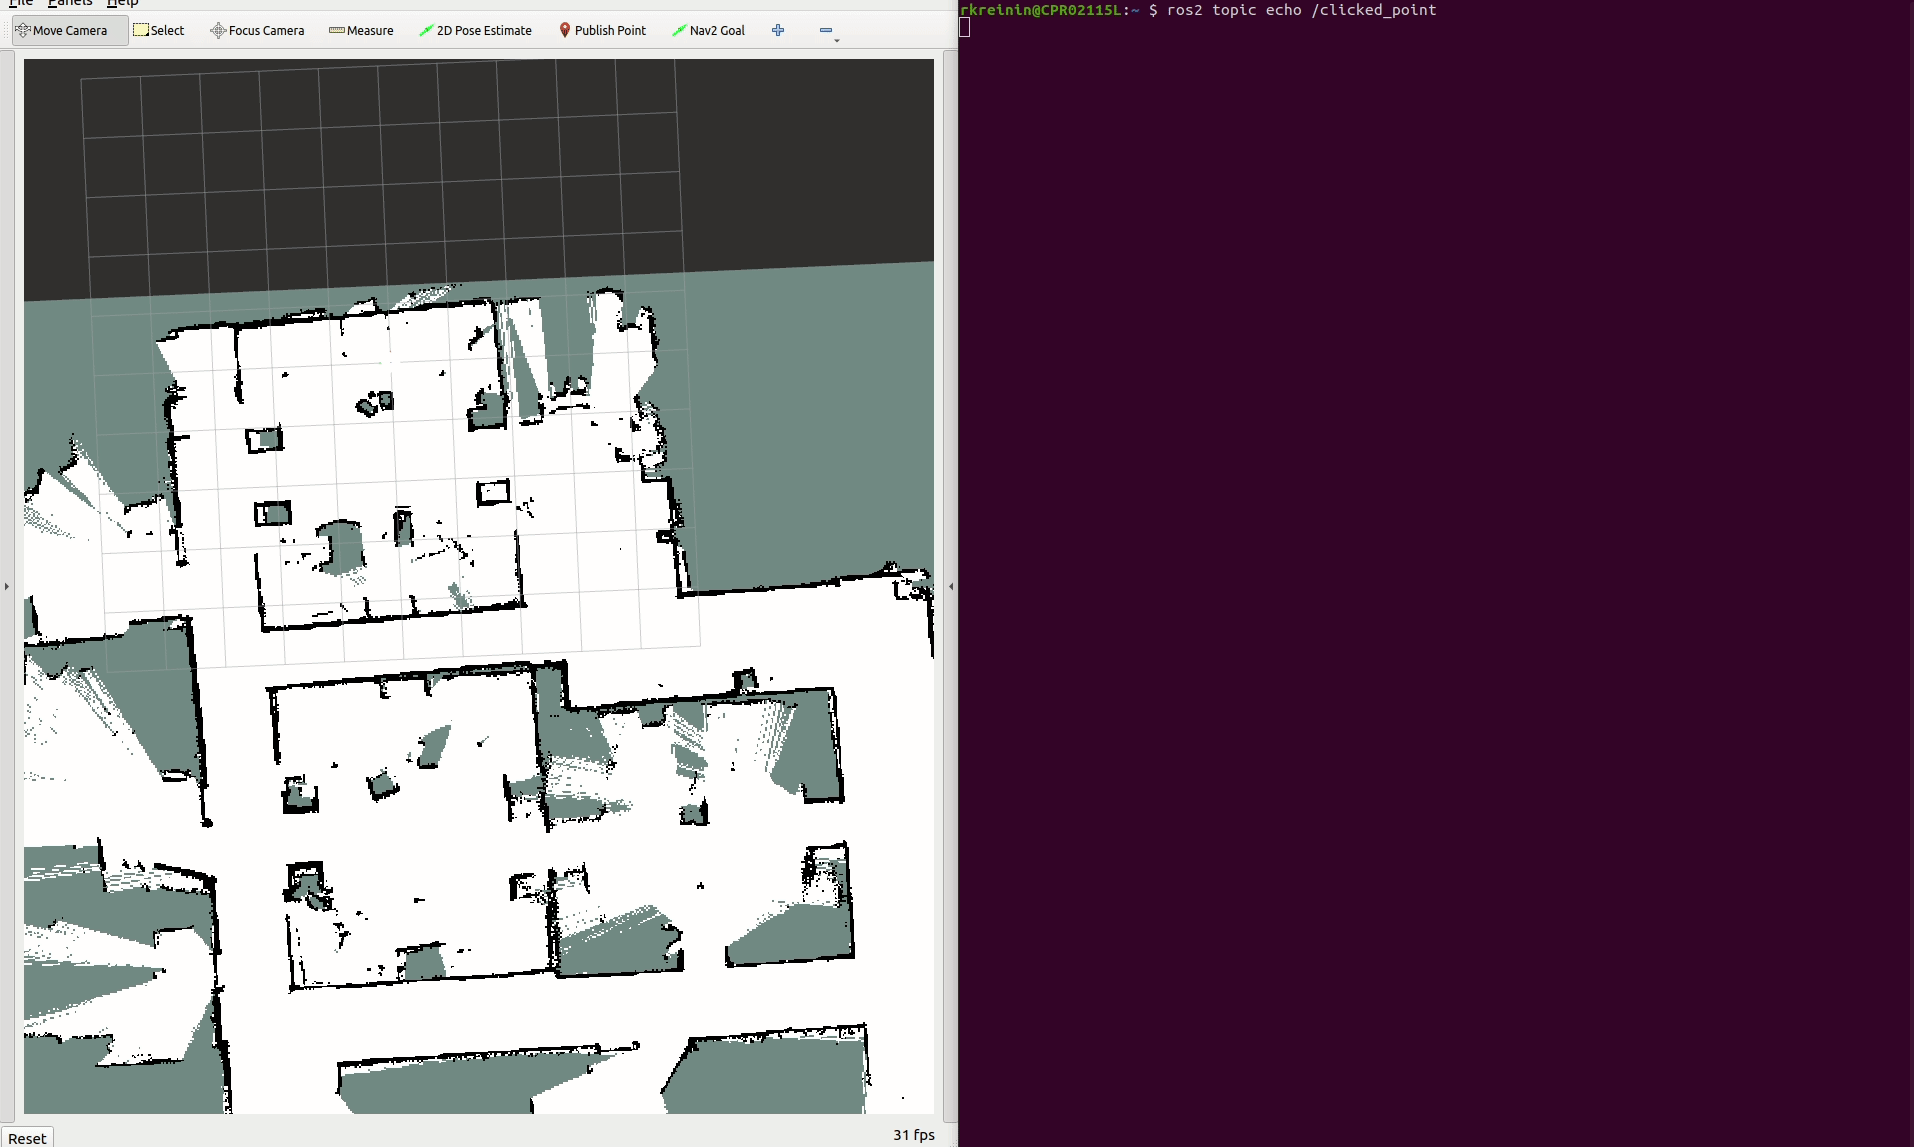
Publish Point
The Publish Point tool allows you to click on a point on the map, and have the coordinates of that point published to the /clicked_point topic.
Open a new terminal and call:
ros2 topic echo /clicked_point
Then, select the Publish Point tool and click on a point on the map. You should see the coordinates published in your terminal.
Nav2 Goal
The Nav2 Goal tool allows you to set a goal pose for the robot. The Nav2 stack will then plan a path to the goal pose and attempt to drive the robot there. Make sure to set the initial pose of the robot before you set a goal pose.